Mandibular anterior dental implant treatment can pose challenges regarding bone and tissue volume deficiencies, implant location, and restorative designs/contours. Proper treatment planning of implant surgery and, more importantly, implant prosthetic design enables clinicians to navigate this challenging region and provide satisfactory esthetic results. Today, the use of technology such as CBCT scanning, real-time surgical navigation, digital impressions, and 3D printing empowers clinicians to consistently provide predictable and accurate results in the esthetic zone. Dental implant osteotomy formation, both classically and currently, has involved the consecutive utilization of high-speed burs to cut bone while being cooled with saline or other liquids. The heat created using this method has been hypothesized to be a main cause of clinicians having to wait 3 to 6 months or more before restoring a surgically placed implant. This case report showcases the use of the Nobel Biocare N1™ implant system (Nobel Biocare, nobelbiocare.com) and its novel osteotomy creating tool, the Osseoshaper™, in the rehabilitation of four mandibular incisors with a lateral incisor–to–lateral incisor screw-retained implant bridge. The case employed immediate implant placement, digital workflow, blood biologics, and osseous grafting. With the “one-abutment one-time” protocol utilized, the final restoration was placed 8 weeks after surgical implant placement, and a 1-year follow-up is presented.
KEY TAKEAWAYS
Mandibular anterior esthetic implant therapy can be routinely and efficiently executed with thoughtful surgical and prosthetic planning.
A digital workflow using various technologies can expedite the treatment process, as well as provide advantages in accuracy and predictability.
Utilizing minimally invasive osteotomy creation with the Nobel Biocare N1™ implant system, final prosthesis loading is possible 6 to 8 weeks after surgical implant placement.
Bobby Birdi, DMD, MSc
Private Practice, Vancouver, Canada; Diplomate, American Boards of Periodontology and Prosthodontics; Fellow, American College of Prosthodontists; Fellow, Royal College of Dentists of Canada
Figures and Images
Figure 1
Figure 2
Figure 3
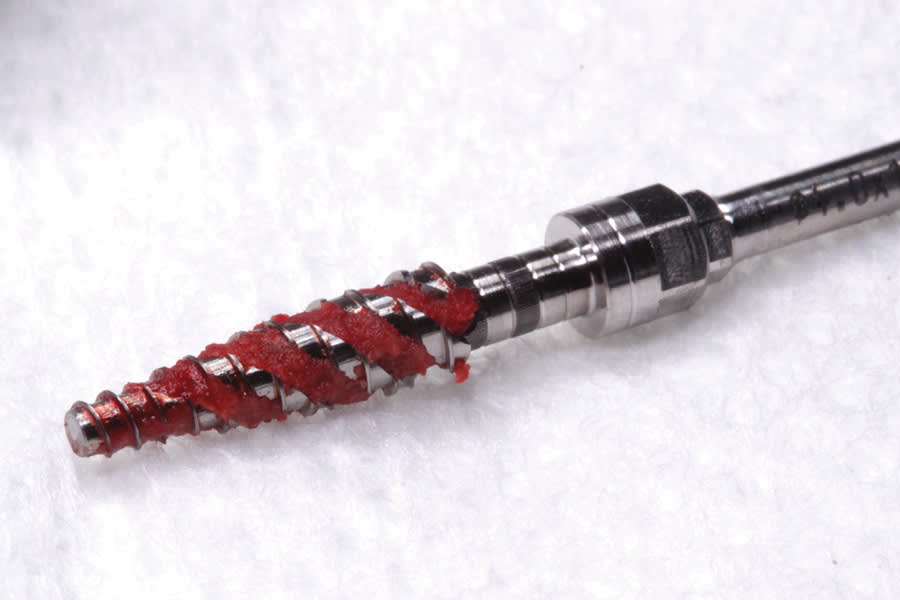
Figure 4
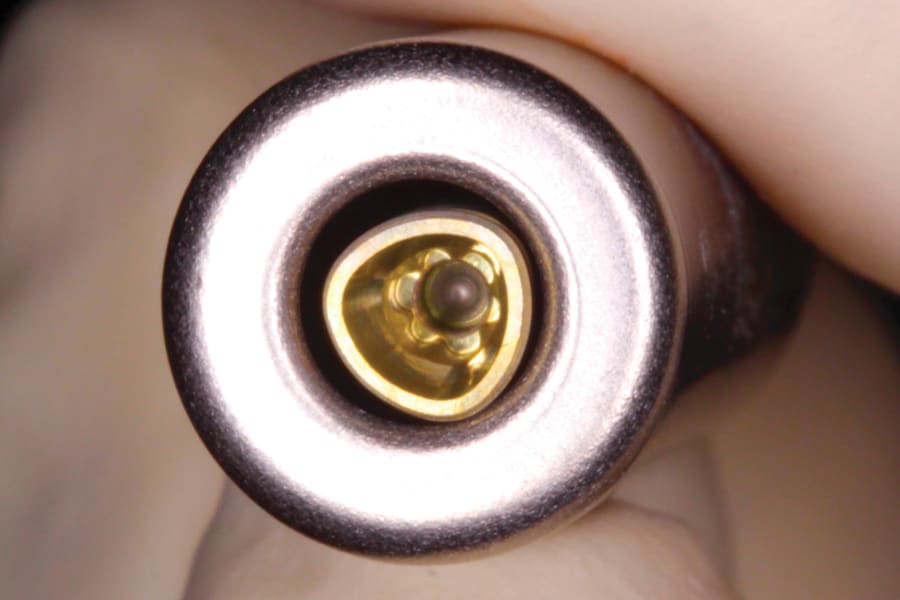
Figure 5
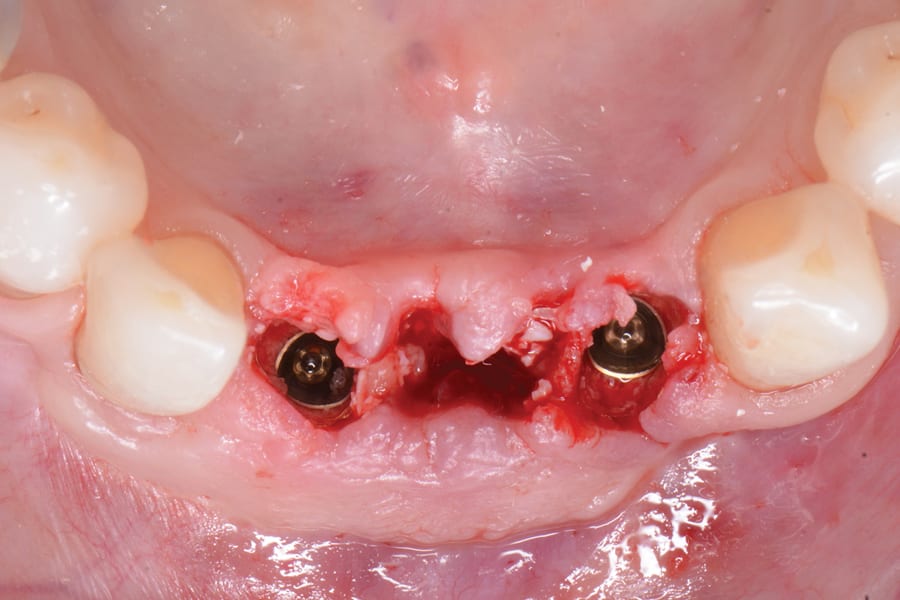
Figure 6
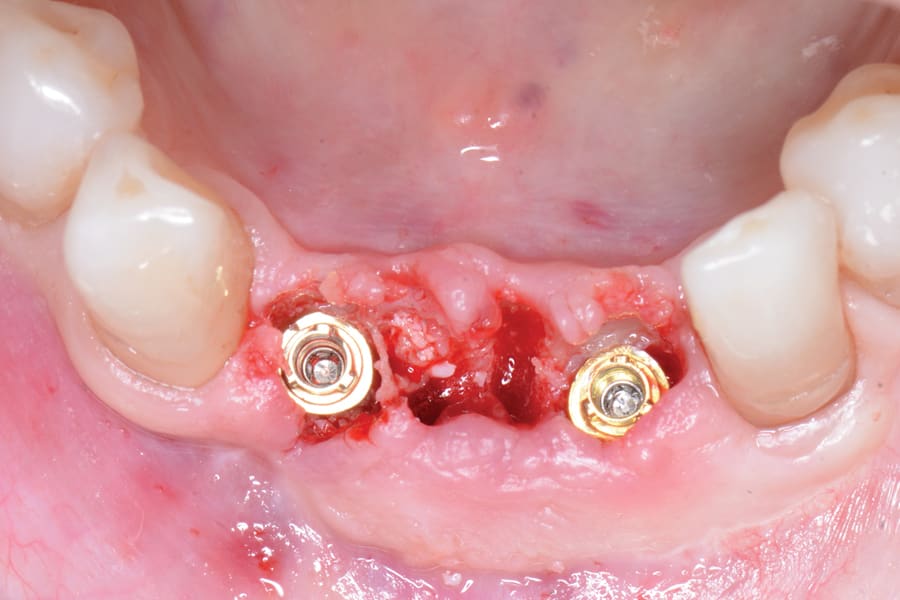
Figure 7
Figure 8
Figure 9
Figure 10
Figure 11
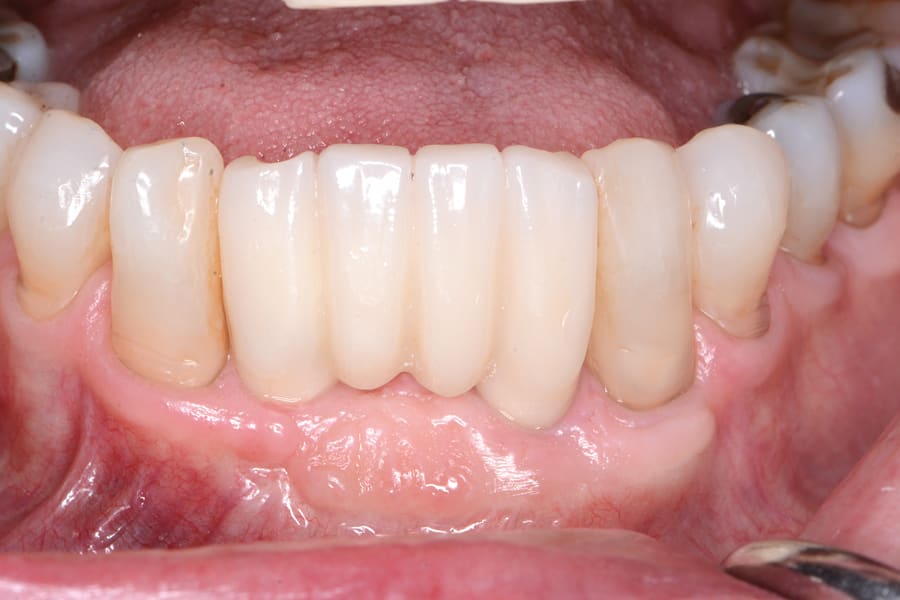
Figure 12
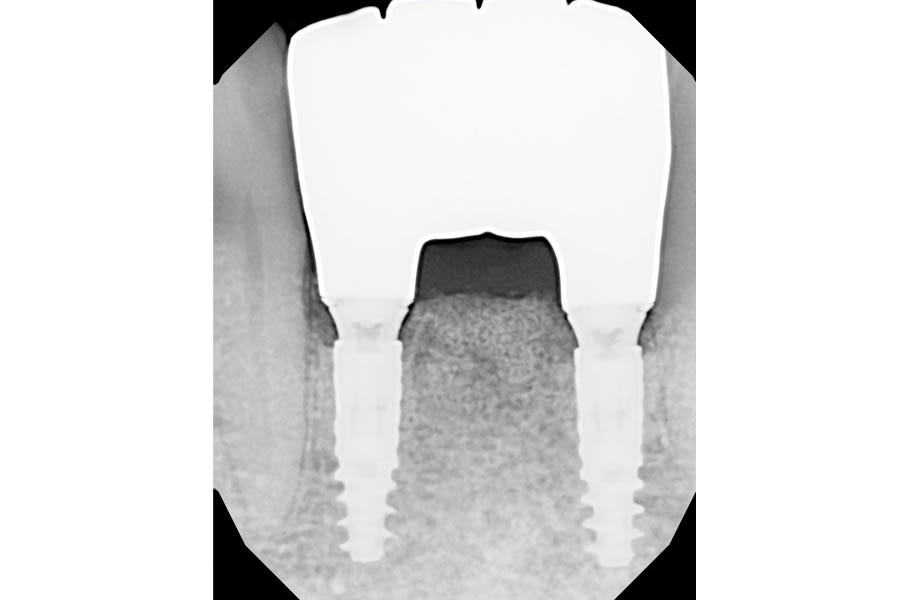
Figure 13