Jimmy Fincher, CDT
Creating smile makeovers has always been an integral part of performing cosmetic dentistry. That goal has not changed as dentistry has grown and matured over the last few decades; however, the esthetic demands of the patient are nothing like they once were. Twenty-five years ago, patients simply wanted to be able to smile and did not know much about the materials used to create that smile. Since then, the cosmetic dental landscape has changed dramatically. Patients now come in highly educated about materials and the options available to them. This can be great for business and very challenging at the same time. The fact that it is easier to identify the materials that match patients’ expectations is a plus for most practices. On the other hand, when the patient has his or her heart set on a particular material, it can be challenging to execute the restoration in a timeframe that meets the expectations of the patient and the doctor.
In the past, clinicians would begin a restorative case with preliminary impressions that were poured up and mounted. Next, a diagnostic wax up was created as a means to produce the restoration. Once a proposed restoration was complete, the patient would come back to approve the design and the dentist could begin the process of preparing the teeth and making temporaries for the patient to wear while the actual restoration was being made. This could take anywhere from several weeks to several months as the dentist ensured that the functionality, contours, and shades of the restoration were satisfactory. Once everything was deemed ready to go, the patient could come back for final impressions. After weeks (or even months) of preparation, the case would arrive at the laboratory so that the dental technician could begin work on the restoration.
From when the smile design case officially hits the technician’s hands to full completion typically took about two full weeks. While today this may seem like a long time, it really was rather reasonable considering all the steps technicians go through to create a smile with this conventional method. First, they must pour models and mount them using a facebow or bite stick provided by the doctor. Only then can they can begin transferring the diagnostic wax up to the working model. Once the wax up was finalized and had its margins flowed in, the technician was able to sprue up the crowns. In my laboratory, these steps would typically take about two days. In the day or two following, the units were then invested, pressed, and devested. I typically had the case ready to contour by the fifth day, however this assumes that there weren’t any complications like mispressed units. Then, the crowns were contoured, stained, and glazed and sent back to the restorative dentist. Once the dentist had the crowns back in-hand, the patient was called back into the office to have his or her permanent restorations put in place.
While it takes a fairly long time, overall this is a pretty efficient system that produces a beautiful result, which, with today’s demanding patient, is a necessity. The biggest issue with this method today is that modern patients don’t want to wait—they want their crowns back immediately. So the question becomes: How do I produce smile designs in a day that look like I spent two weeks worth of time on them?
The CAD/CAM Solution
Digital systems are the answer to that question. Embracing digital technology revolutionized the way clinicians and technicians do dentistry, and same- and next-day digital dentistry smile design are now routine parts of most practices. This new technology has not only increased the technician’s ability to meet doctors’ expectations, but has also given them an opportunity to please patients. It is extremely important to find a system that makes communication between the clinician and technicians easier, especially when turnaround time is less than 48 hours. One system that provides the means for outstanding clinician/technician communication is the Planmeca FIT™. This open CAD/CAM system includes a superior mill and design software, combined with open architecture, have paved the way to growth and increased turnaround time on not only my smile design cases, but also in daily production. The following details a case that was performed using the Planmeca FIT™ system, and demonstrates how the technology has made my job as a technician more straight-forward, more streamlined, and, above all, faster.
Patient Presentation
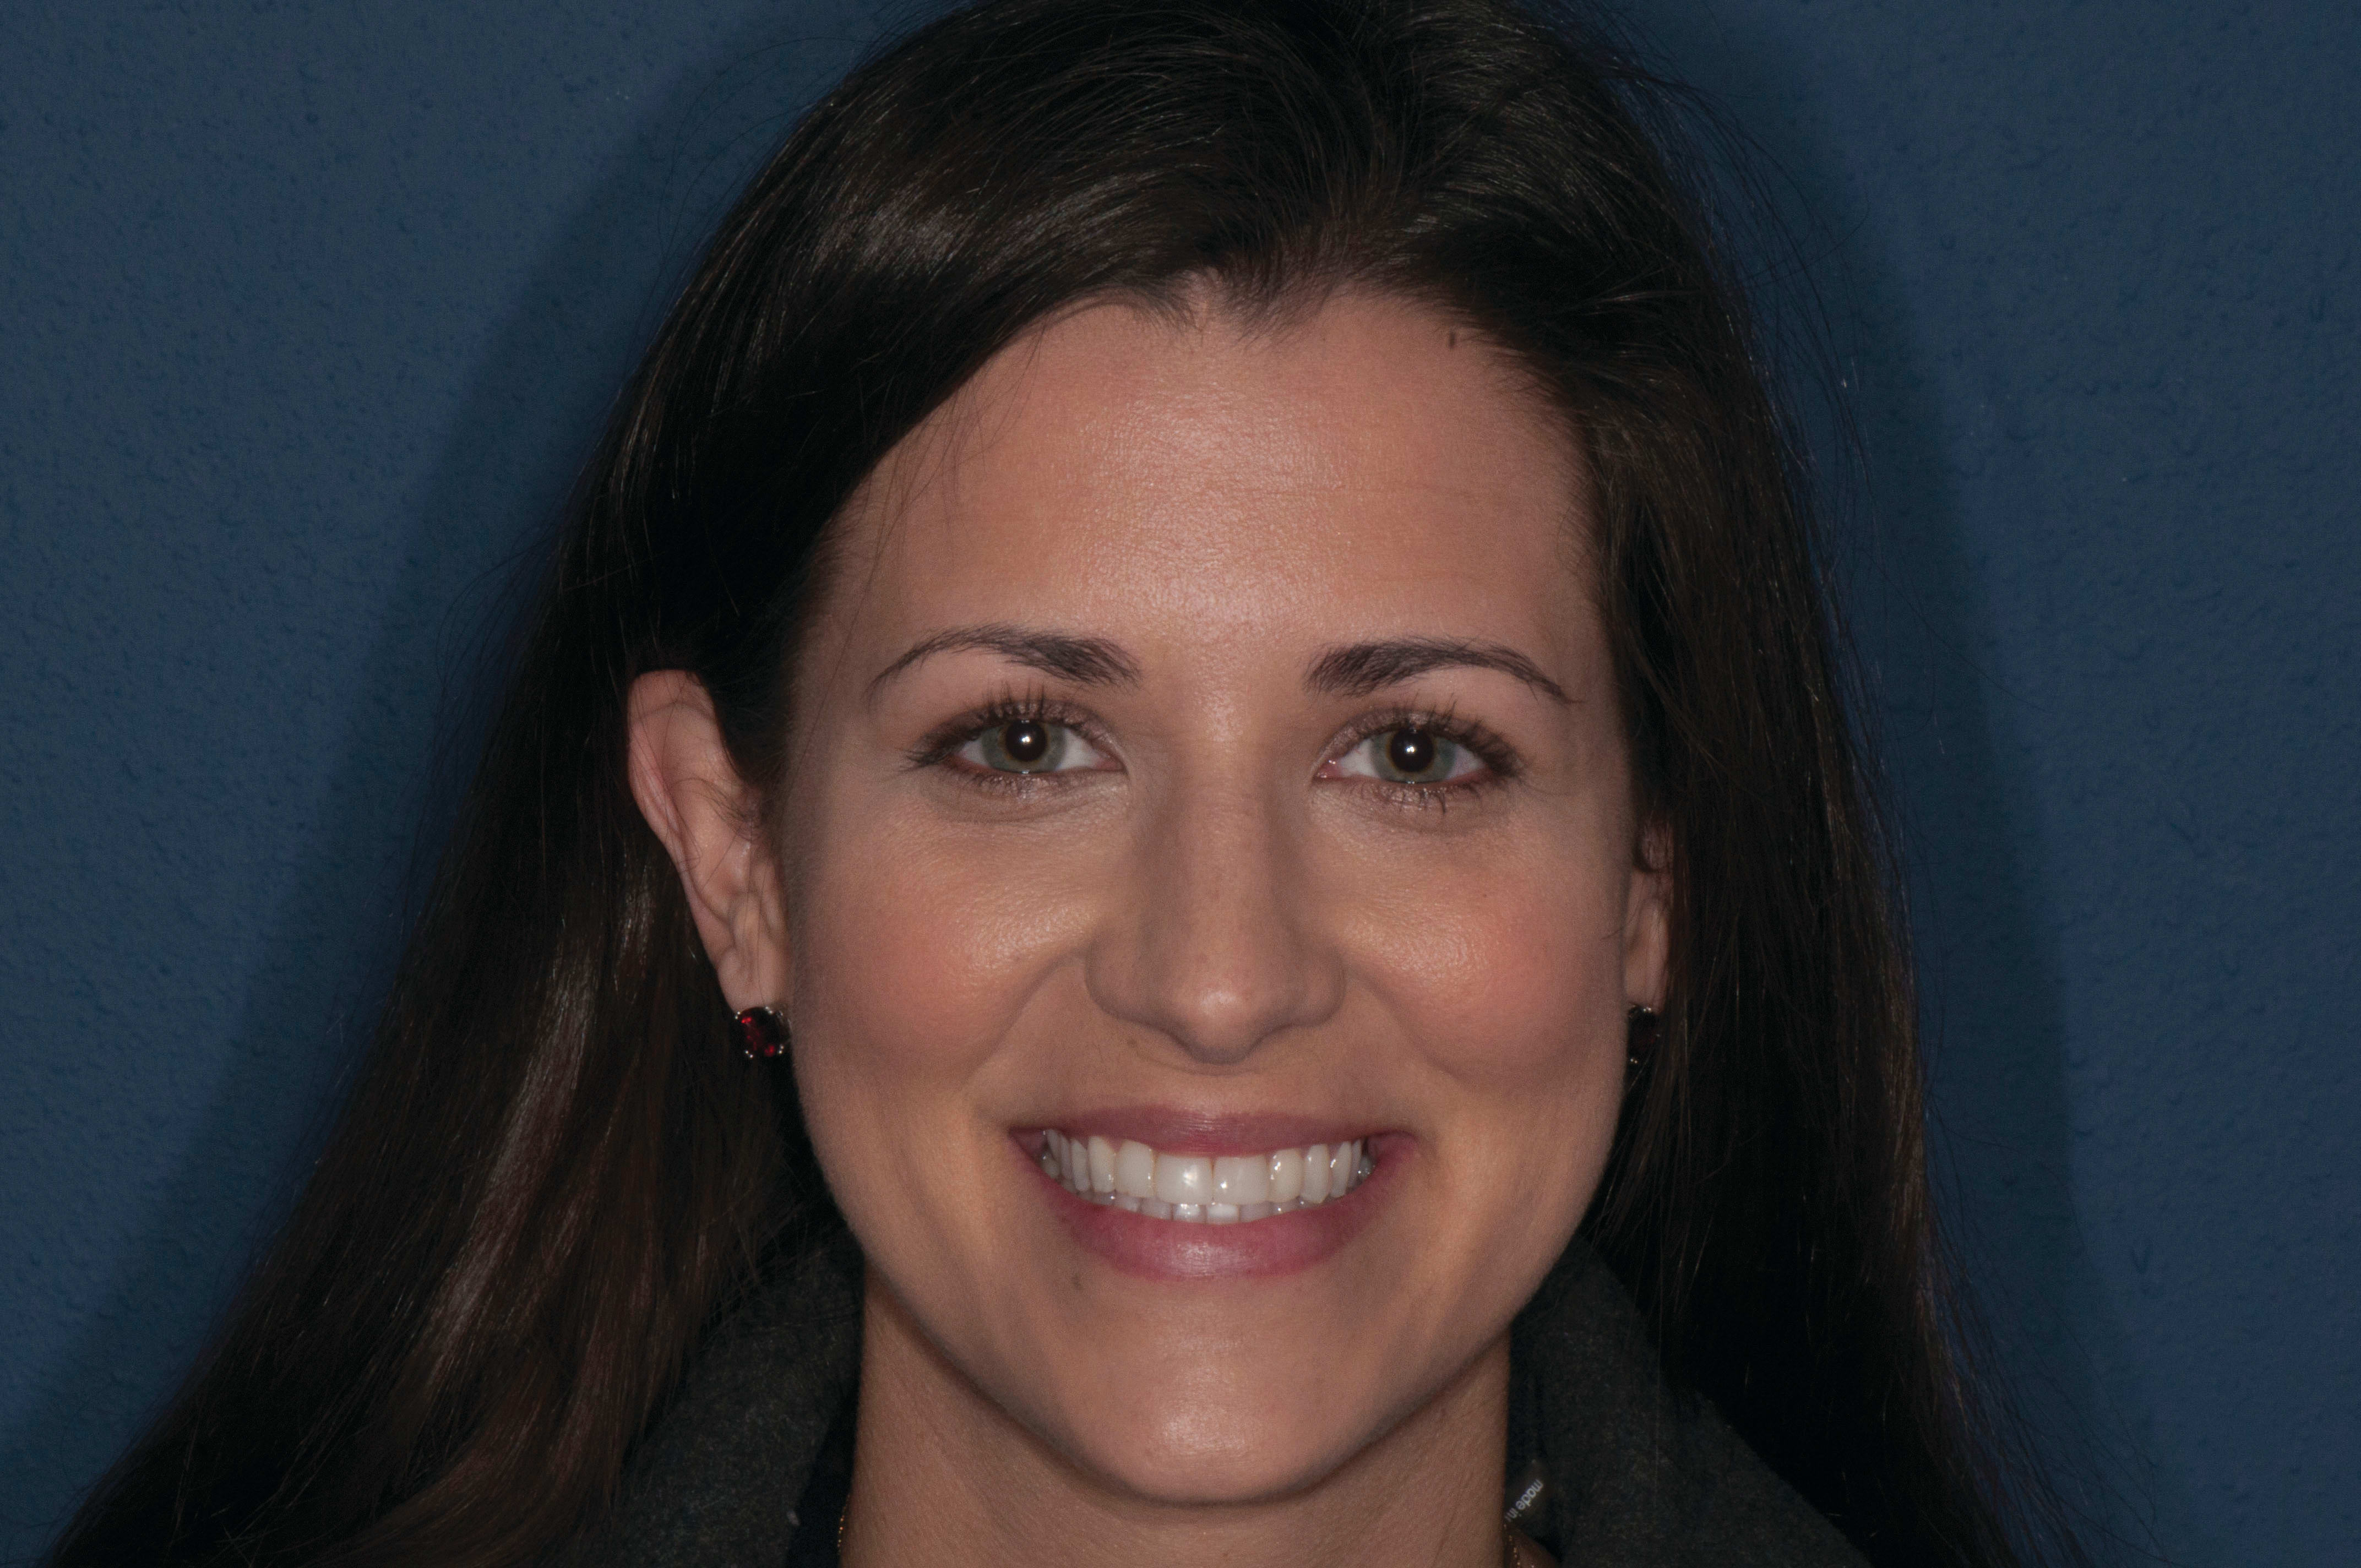
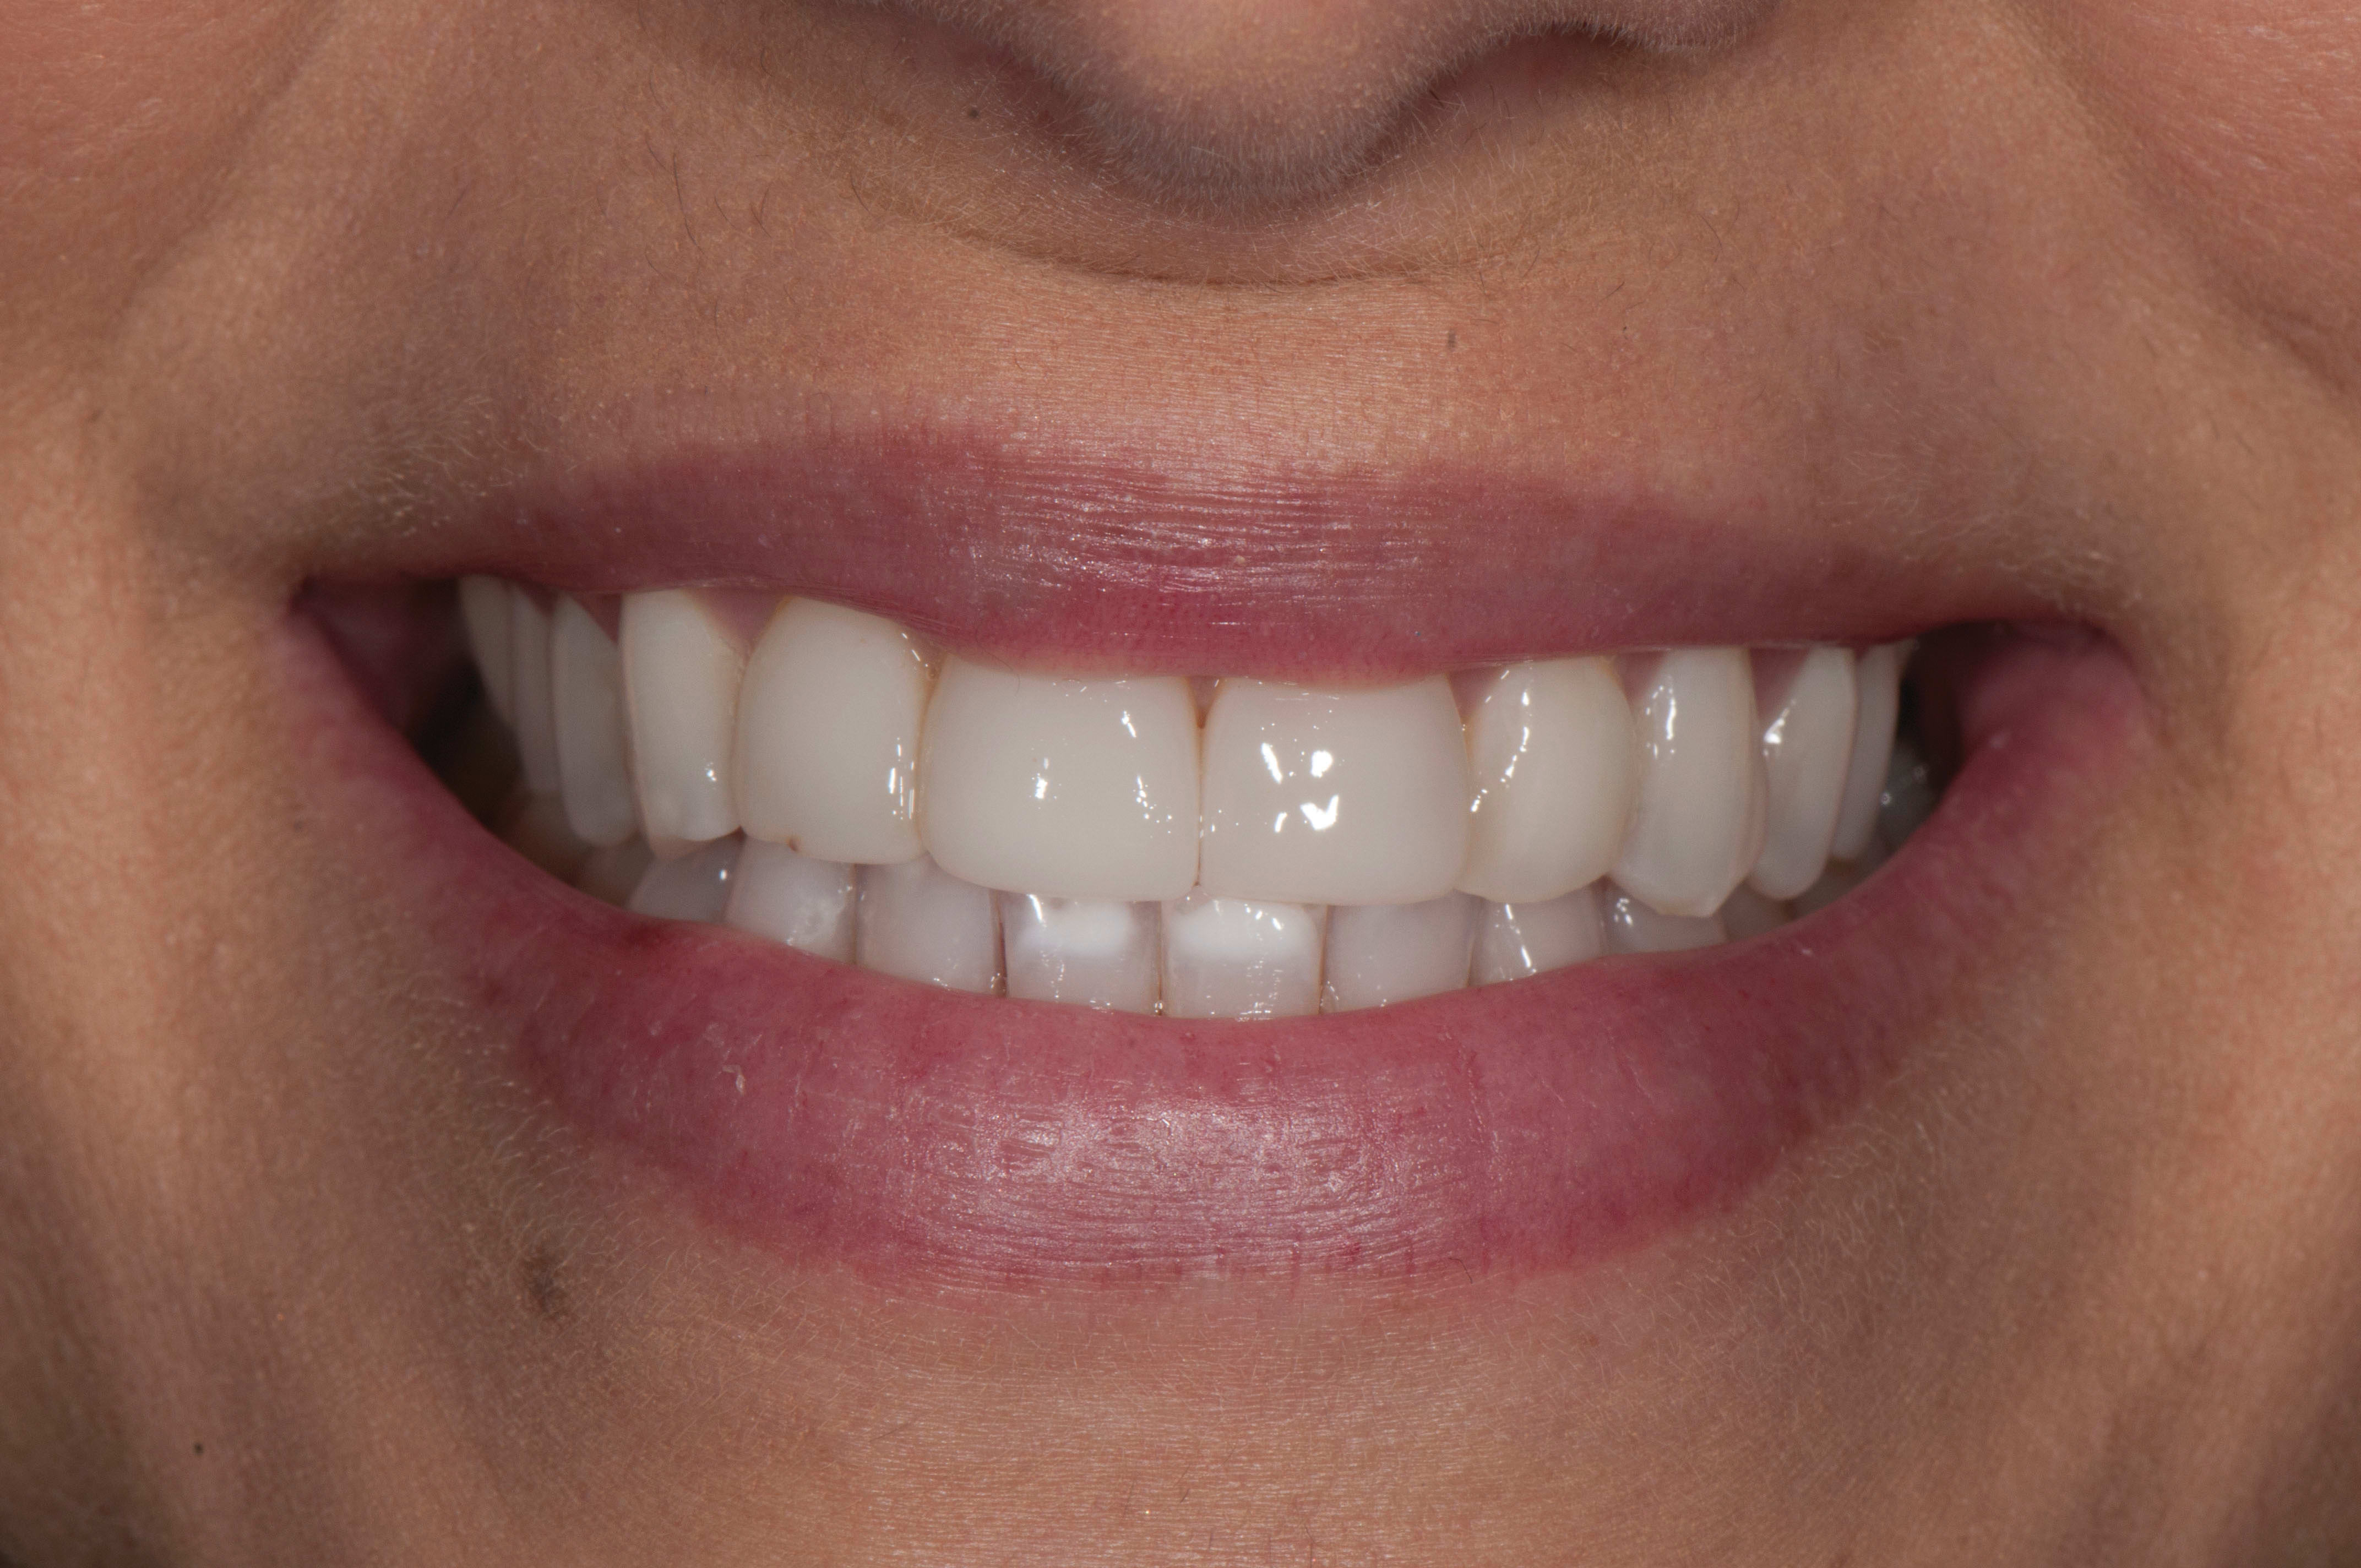
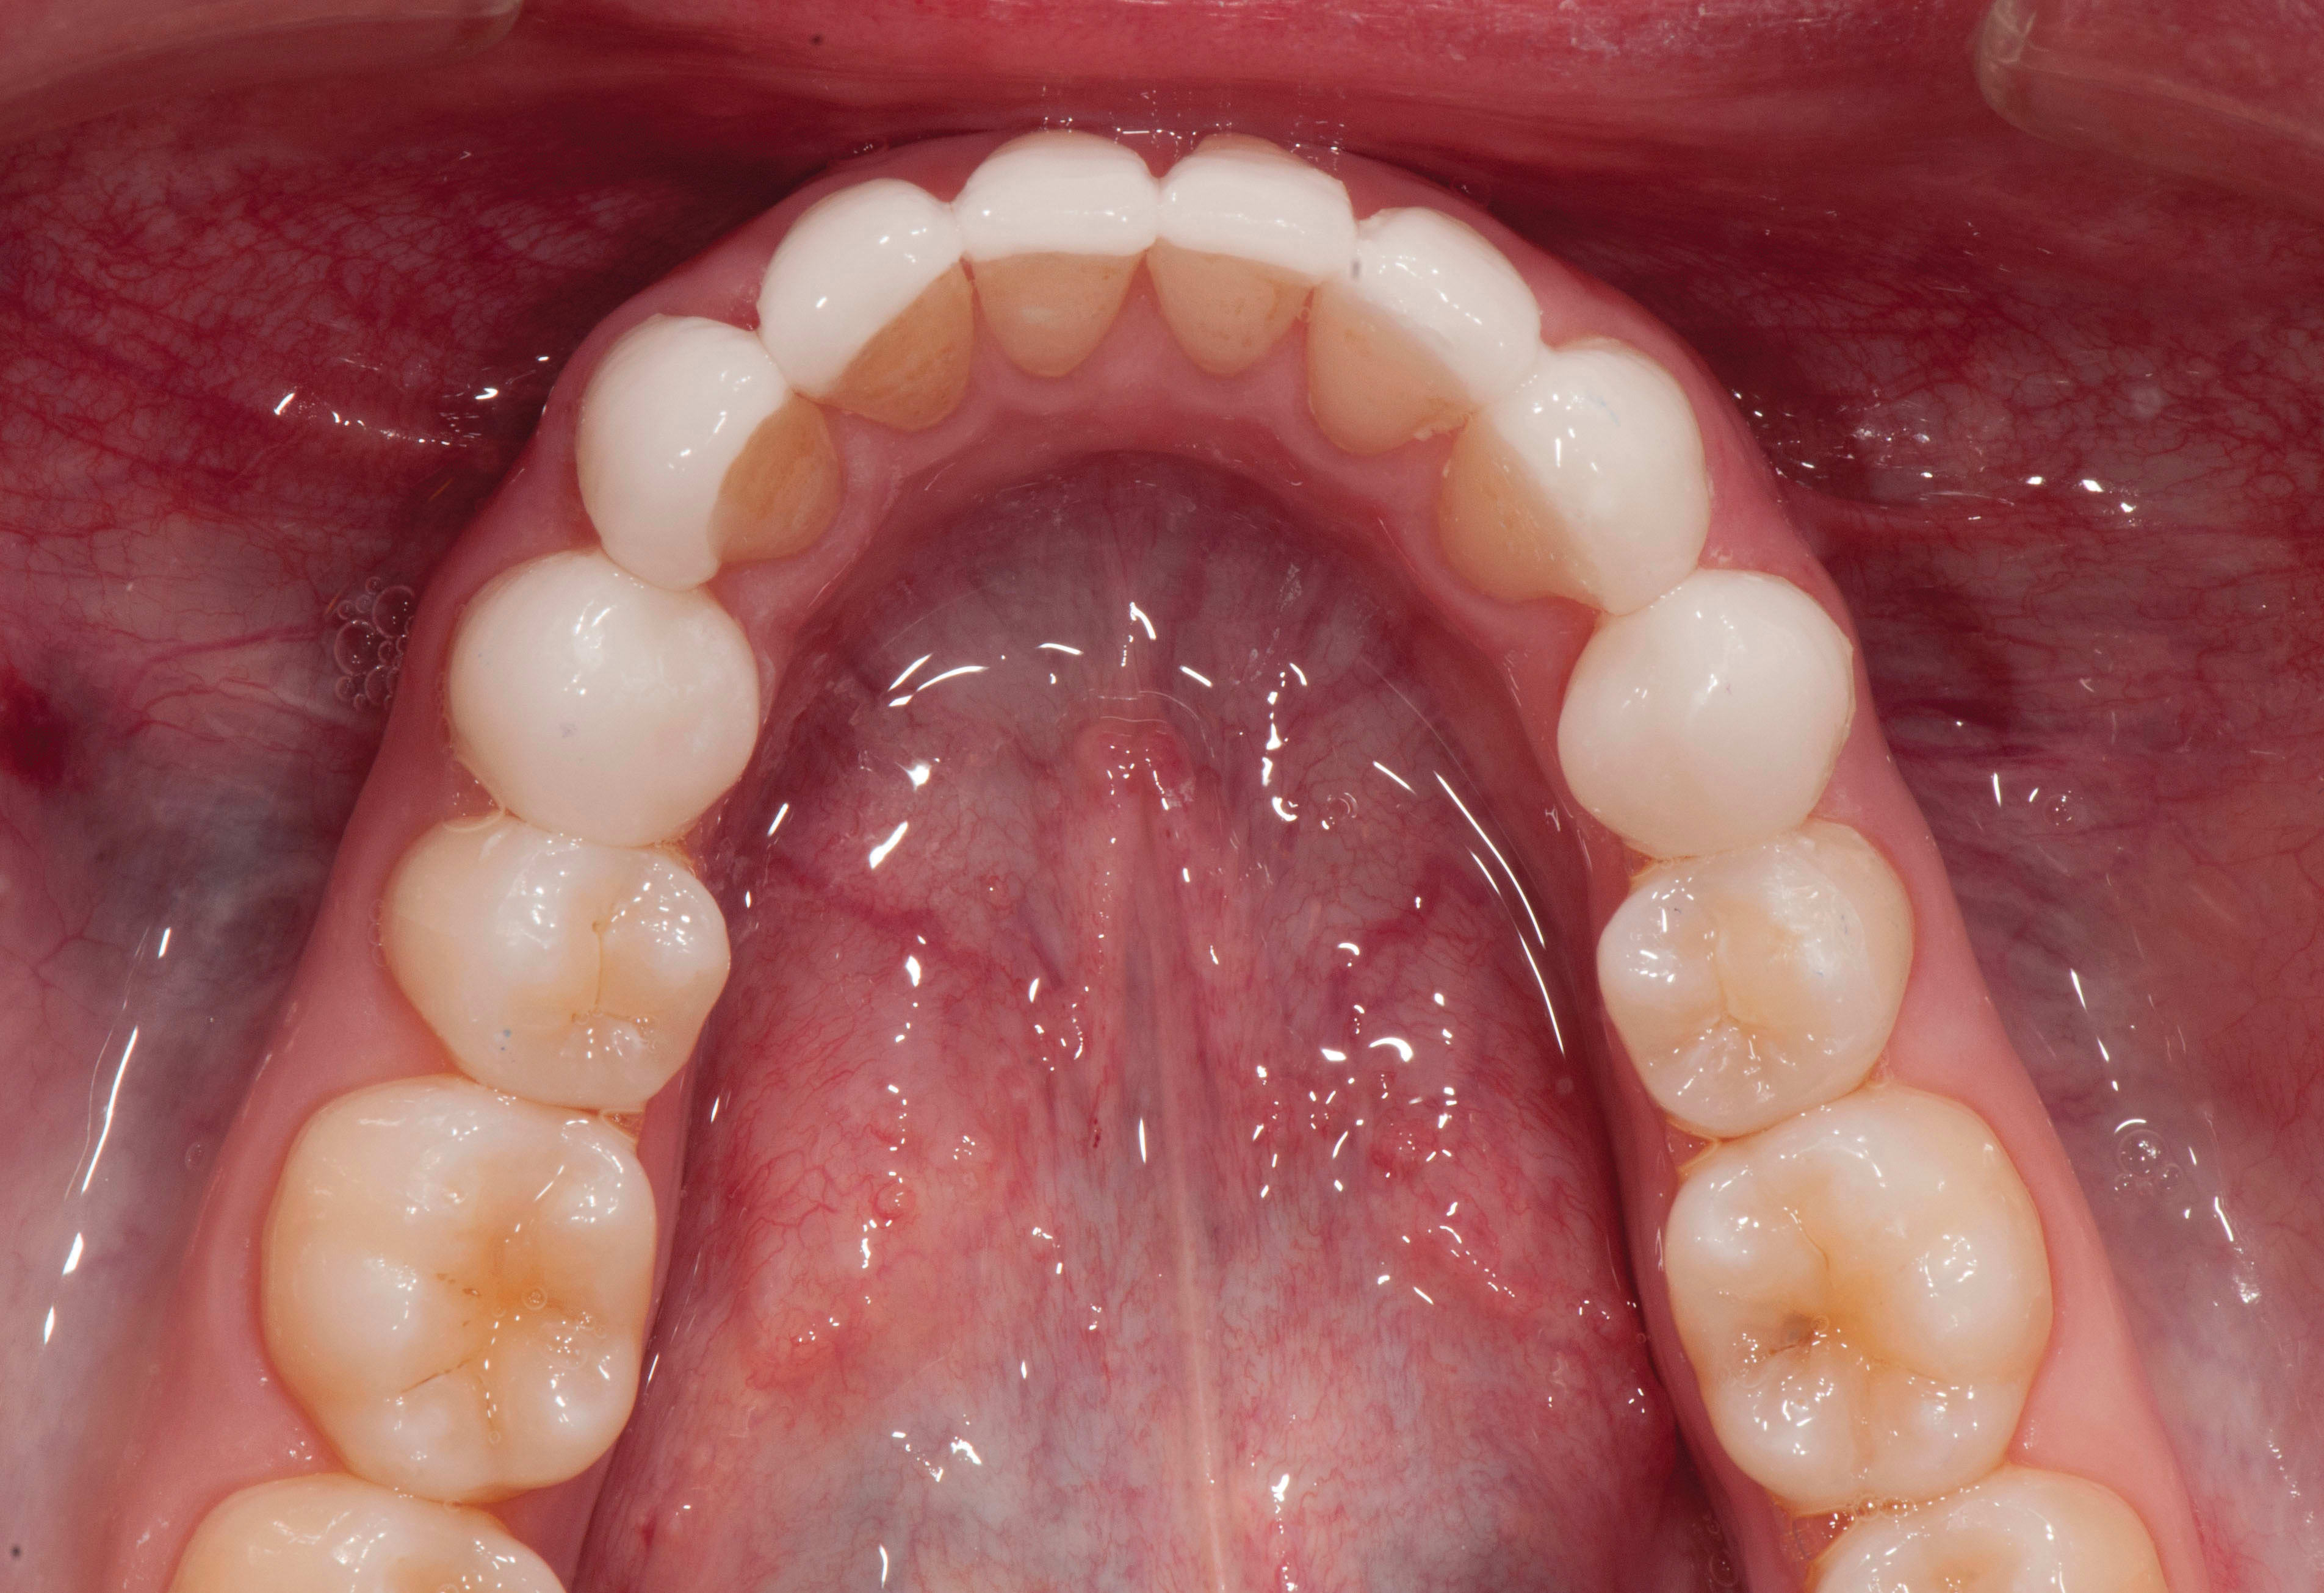
The patient was a woman in her 20s who was concerned with the appearance of her smile (Figure 1). She had composite veneers on teeth Nos. 7-10 that were chipped, stained, and worn. She also exhibited worn natural dentition (teeth No. 6 and No. 11) and lower anterior crowding with hypocalcification (Figure 2). The patient was a beauty pageant competitor and sought to improve her smile before competing in the upcoming Mrs. Texas pageant. She believed that improving her smile would give her a whole new level of confidence on stage. After a complete examination, my colleague, Bryan Couch, DDS, decided to use PlanScan technology to digitally scan and design IPS e.max® (Ivoclar Vivadent, www.ivoclarvivadent.com) restorations. The dentist provided the laboratory with preliminary polyvinylsiloxane impressions, as well as a bite registration for the design of a diagnostic wax up.
Case Preparation
Digital smile design makeovers are all about preparation. That is why it is imperative to ensure that the dental team is able to digitally transfer the diagnostic wax up to the digital working model. Since the patient’s veneers were designed on the model created from her intraoral digital scans, it was essential that the polyvinyl impression used for the diagnostic wax up was as detailed as possible regarding hard and soft tissue landmarks, which would allow the software to accurately overlay the images. Once that was complete, proper preparations were achieved using prep guides. After the tooth shades and prep shades were determined, the patient was provisionalized using temporary matrices provided by the laboratory (Figure 3).
Laboratory Procedures
Once the patient gave her final approval of the provisionals, the digital and conventional impressions were sent to the laboratory so that the technician could pour up and design the final restorations. The challenge was taking the wax and converting it to a digital model on the screen. With the Planmeca FIT™ system, this was a breeze. After mounting the final models and scanning everything in, I was able to begin designing the case. The margins for each restoration were predefined and the computer was told to clone each corresponding tooth. This is the step in which it is discovered whether all of the preliminary work was done correctly. Because Dr. Couch provided a high level of detail and was extremely accurate when taking the polyvinyl impression for the wax up, I had an exact physical match to the digital impression. This is how I ensure that I have given the software what it needs to properly line up the clone to the working model and do most of the design work.
After generating all of the patient’s veneers, I was able to refine the contacts and contours to match the pre-op/clone wax up. Once the design was complete, we selected a milling block based on the patient’s desired shade and underlying prep color.
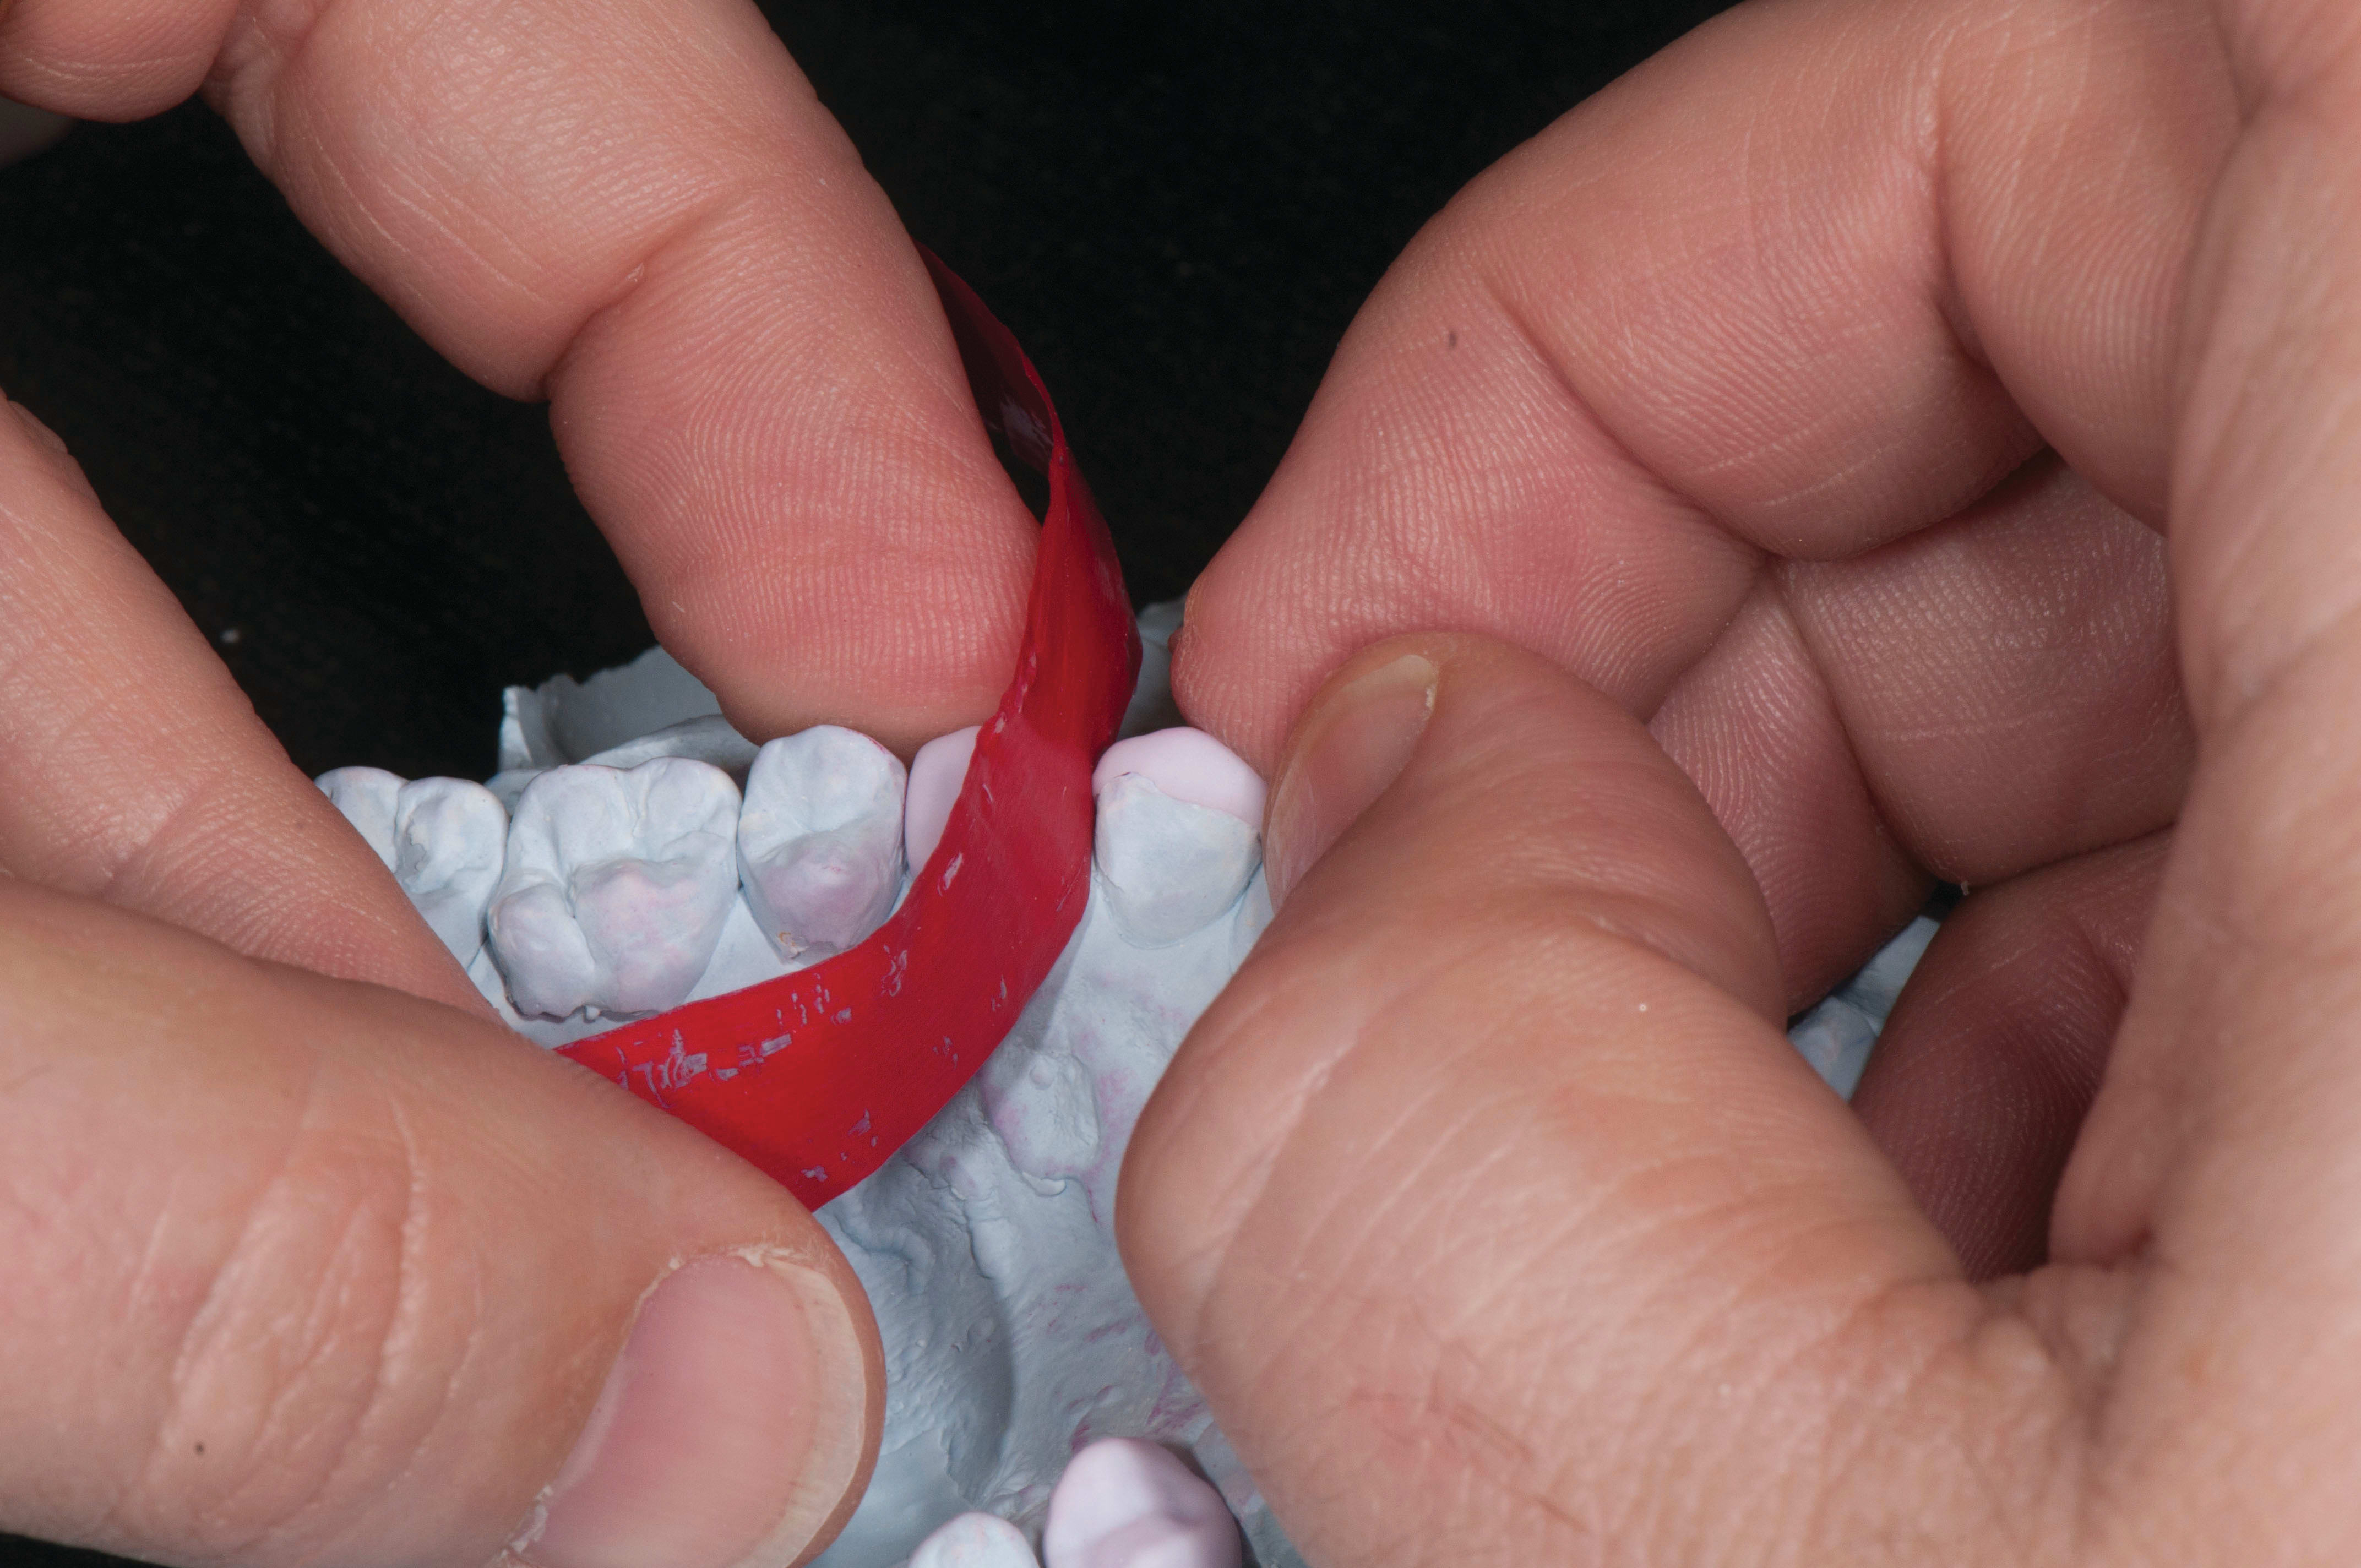
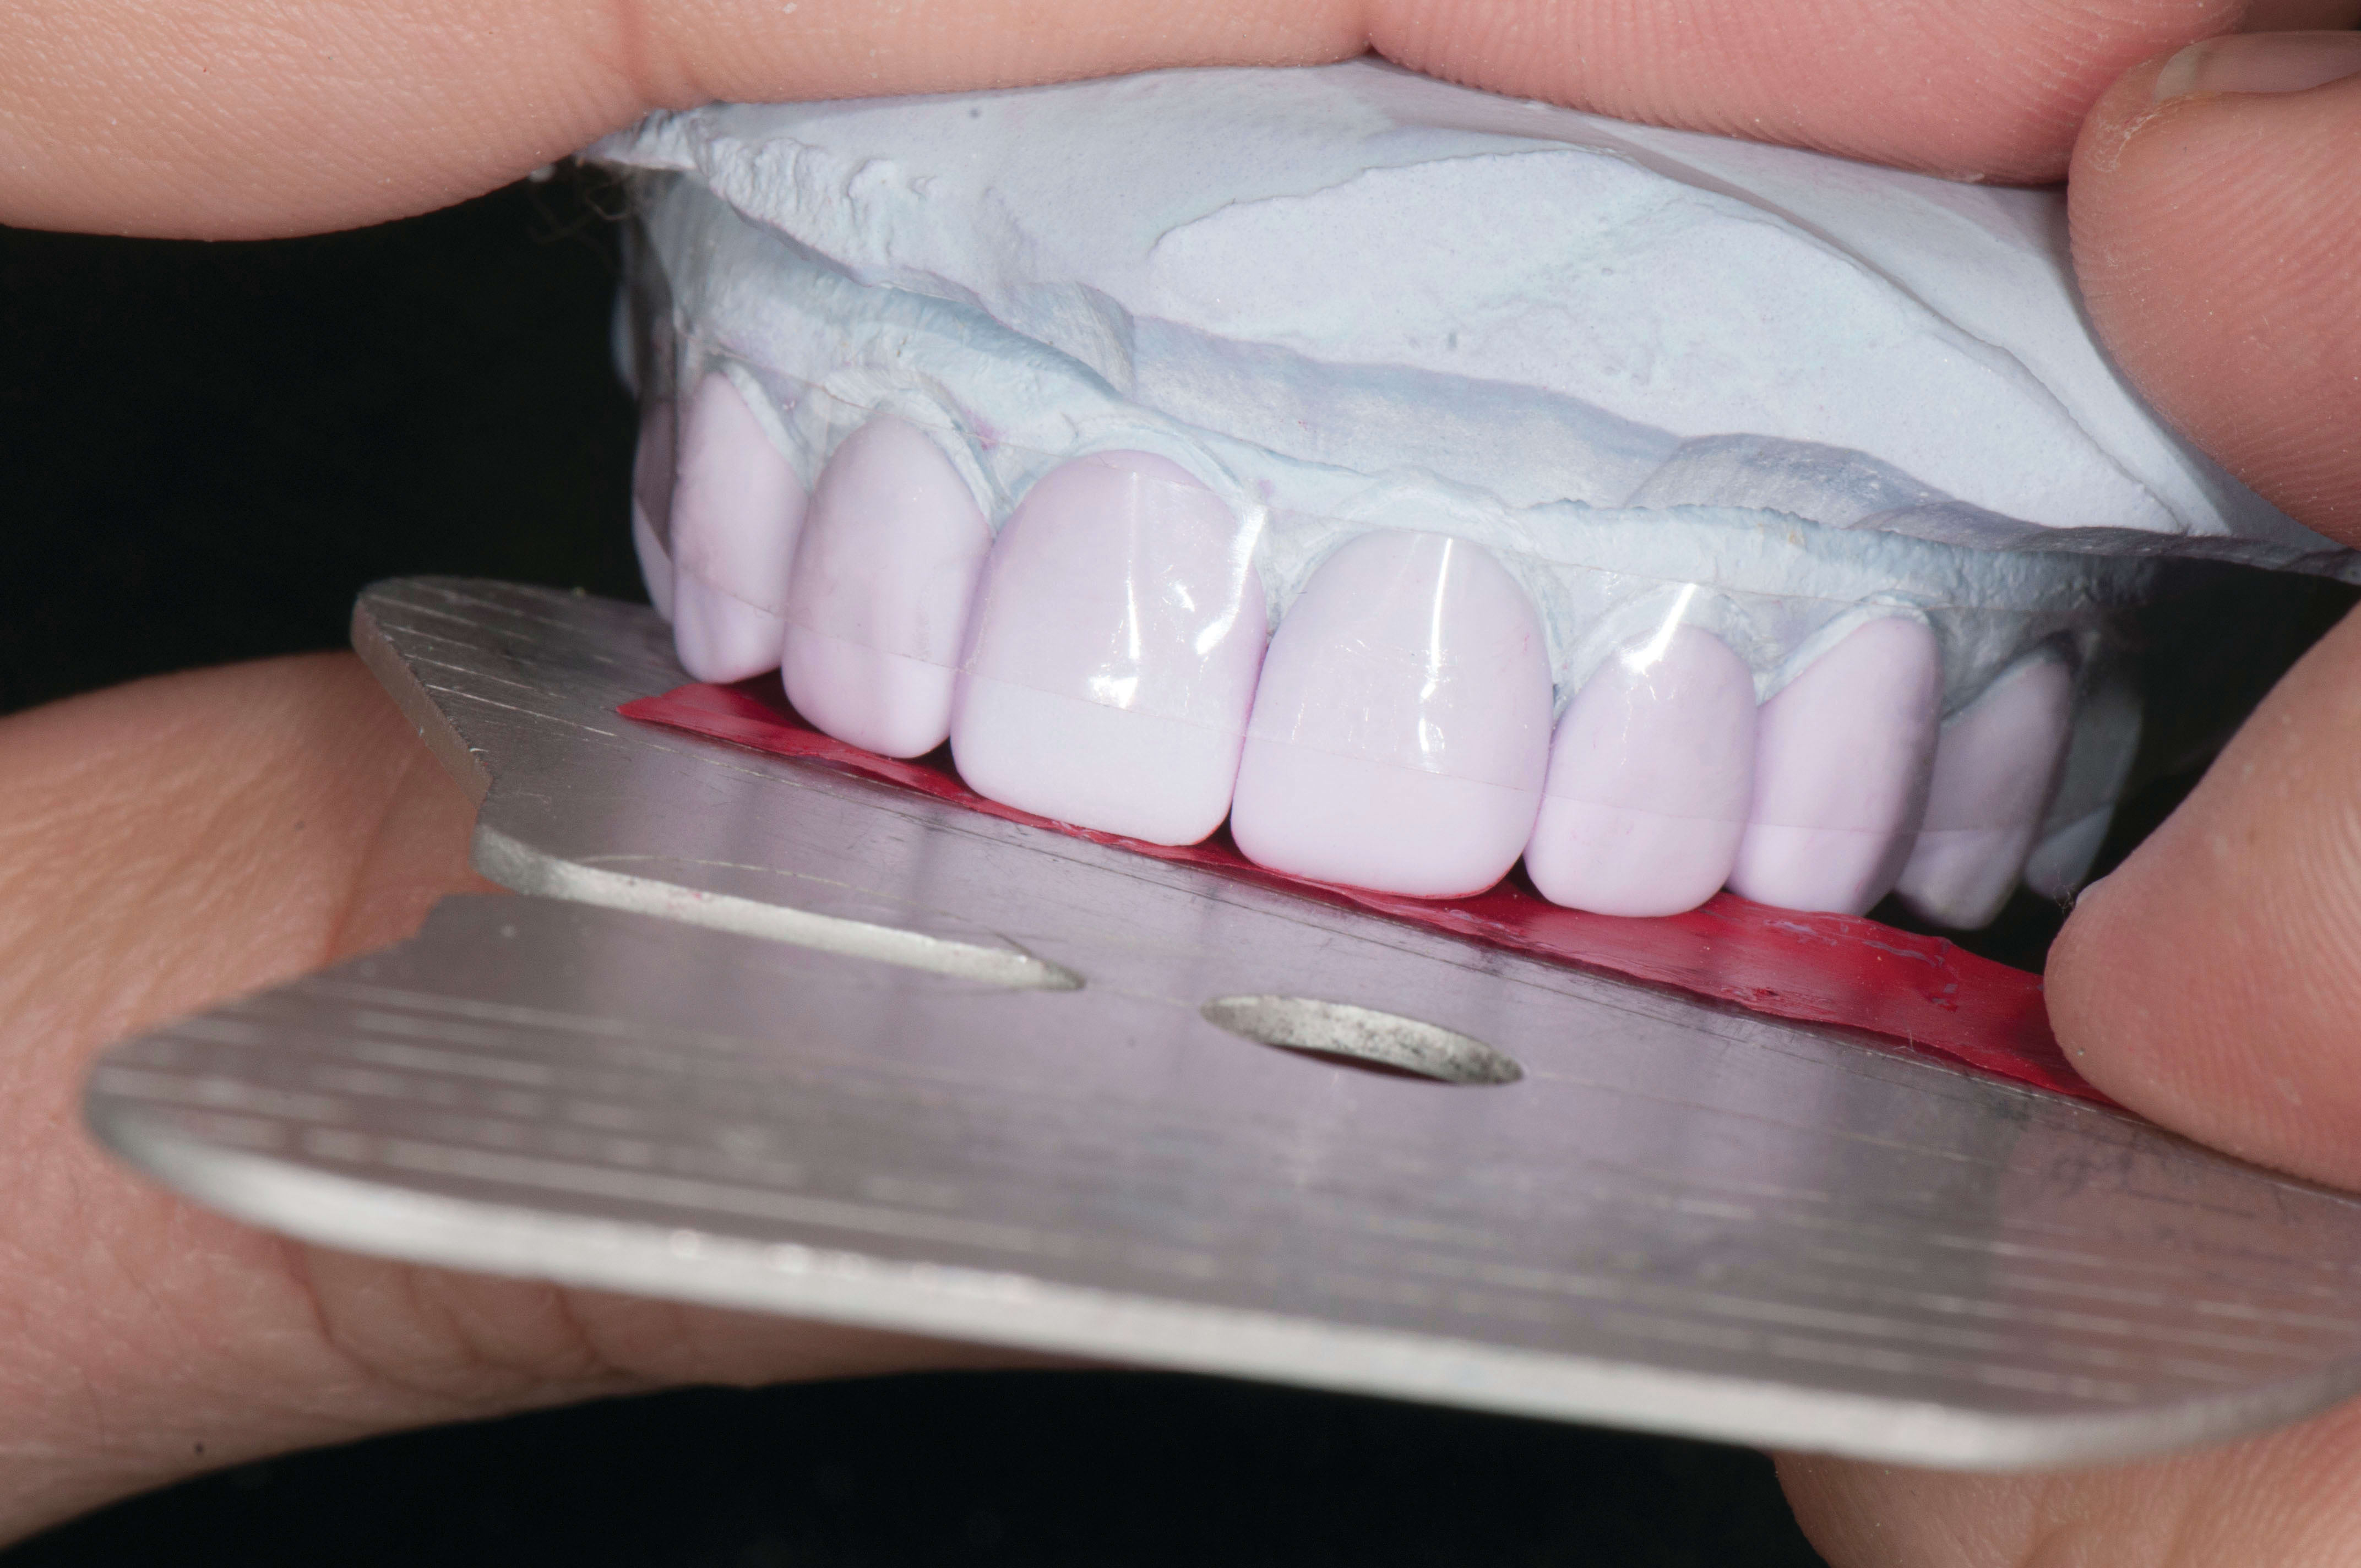
The underlying prep color is what indicates whether the restorative team should use a high- or low-translucency block. In this case, a low translucency block gave the best shade and value to match the current dentition. The crowns were milled in approximately three hours using the Planmeca PlanMill 40™ wet milling unit (www.planmecacadcam.com). They were then cut off the blocks and seated to the stone model using a combination of a green stone and diamond burs (Figure 4). This ensured that there were no hang-ups when the crowns were seated in the patient’s mouth. Proper interproximal contacts were also ground in so that the veneers had a passive seat on the model with a slightly lingual contact point (Figure 5). Occlusion and margins were achieved on all of the units. After function was established in the wax up, there was minimal adjustment needed to ensure proper anterior guidance. Remember, the preparation was done in a meticulous manner for a reason, and as such the dental team was able to reap those rewards (Figure 6).
Once all the mechanics of the crowns were satisfied, it was time to put facial anatomy and surface texture into each veneer. Anatomy was drawn on the restorations with a red pencil to ensure that they were even from side to side. Once the anatomy was carved in, I could smooth the crowns and incorporate final surface texture. The crowns were then steam cleaned, dried, and placed in a porcelain furnace to crystallize. Stain was then applied using Ivoclar Vivadent e.max® stains, enhancing the body and incisal portions of the restorations. The restorations were fired again in a porcelain furnace. Glaze was applied using Ivoclar’s e.max Fluo Glaze and the veneers were baked for a third and final time. After this bake, the crowns’ shine was finalized and the restorations were acid-etched for 20 seconds with a 5% hydrofluoric acid solution (Figure 7 through Figure 12).
Smile Reveal
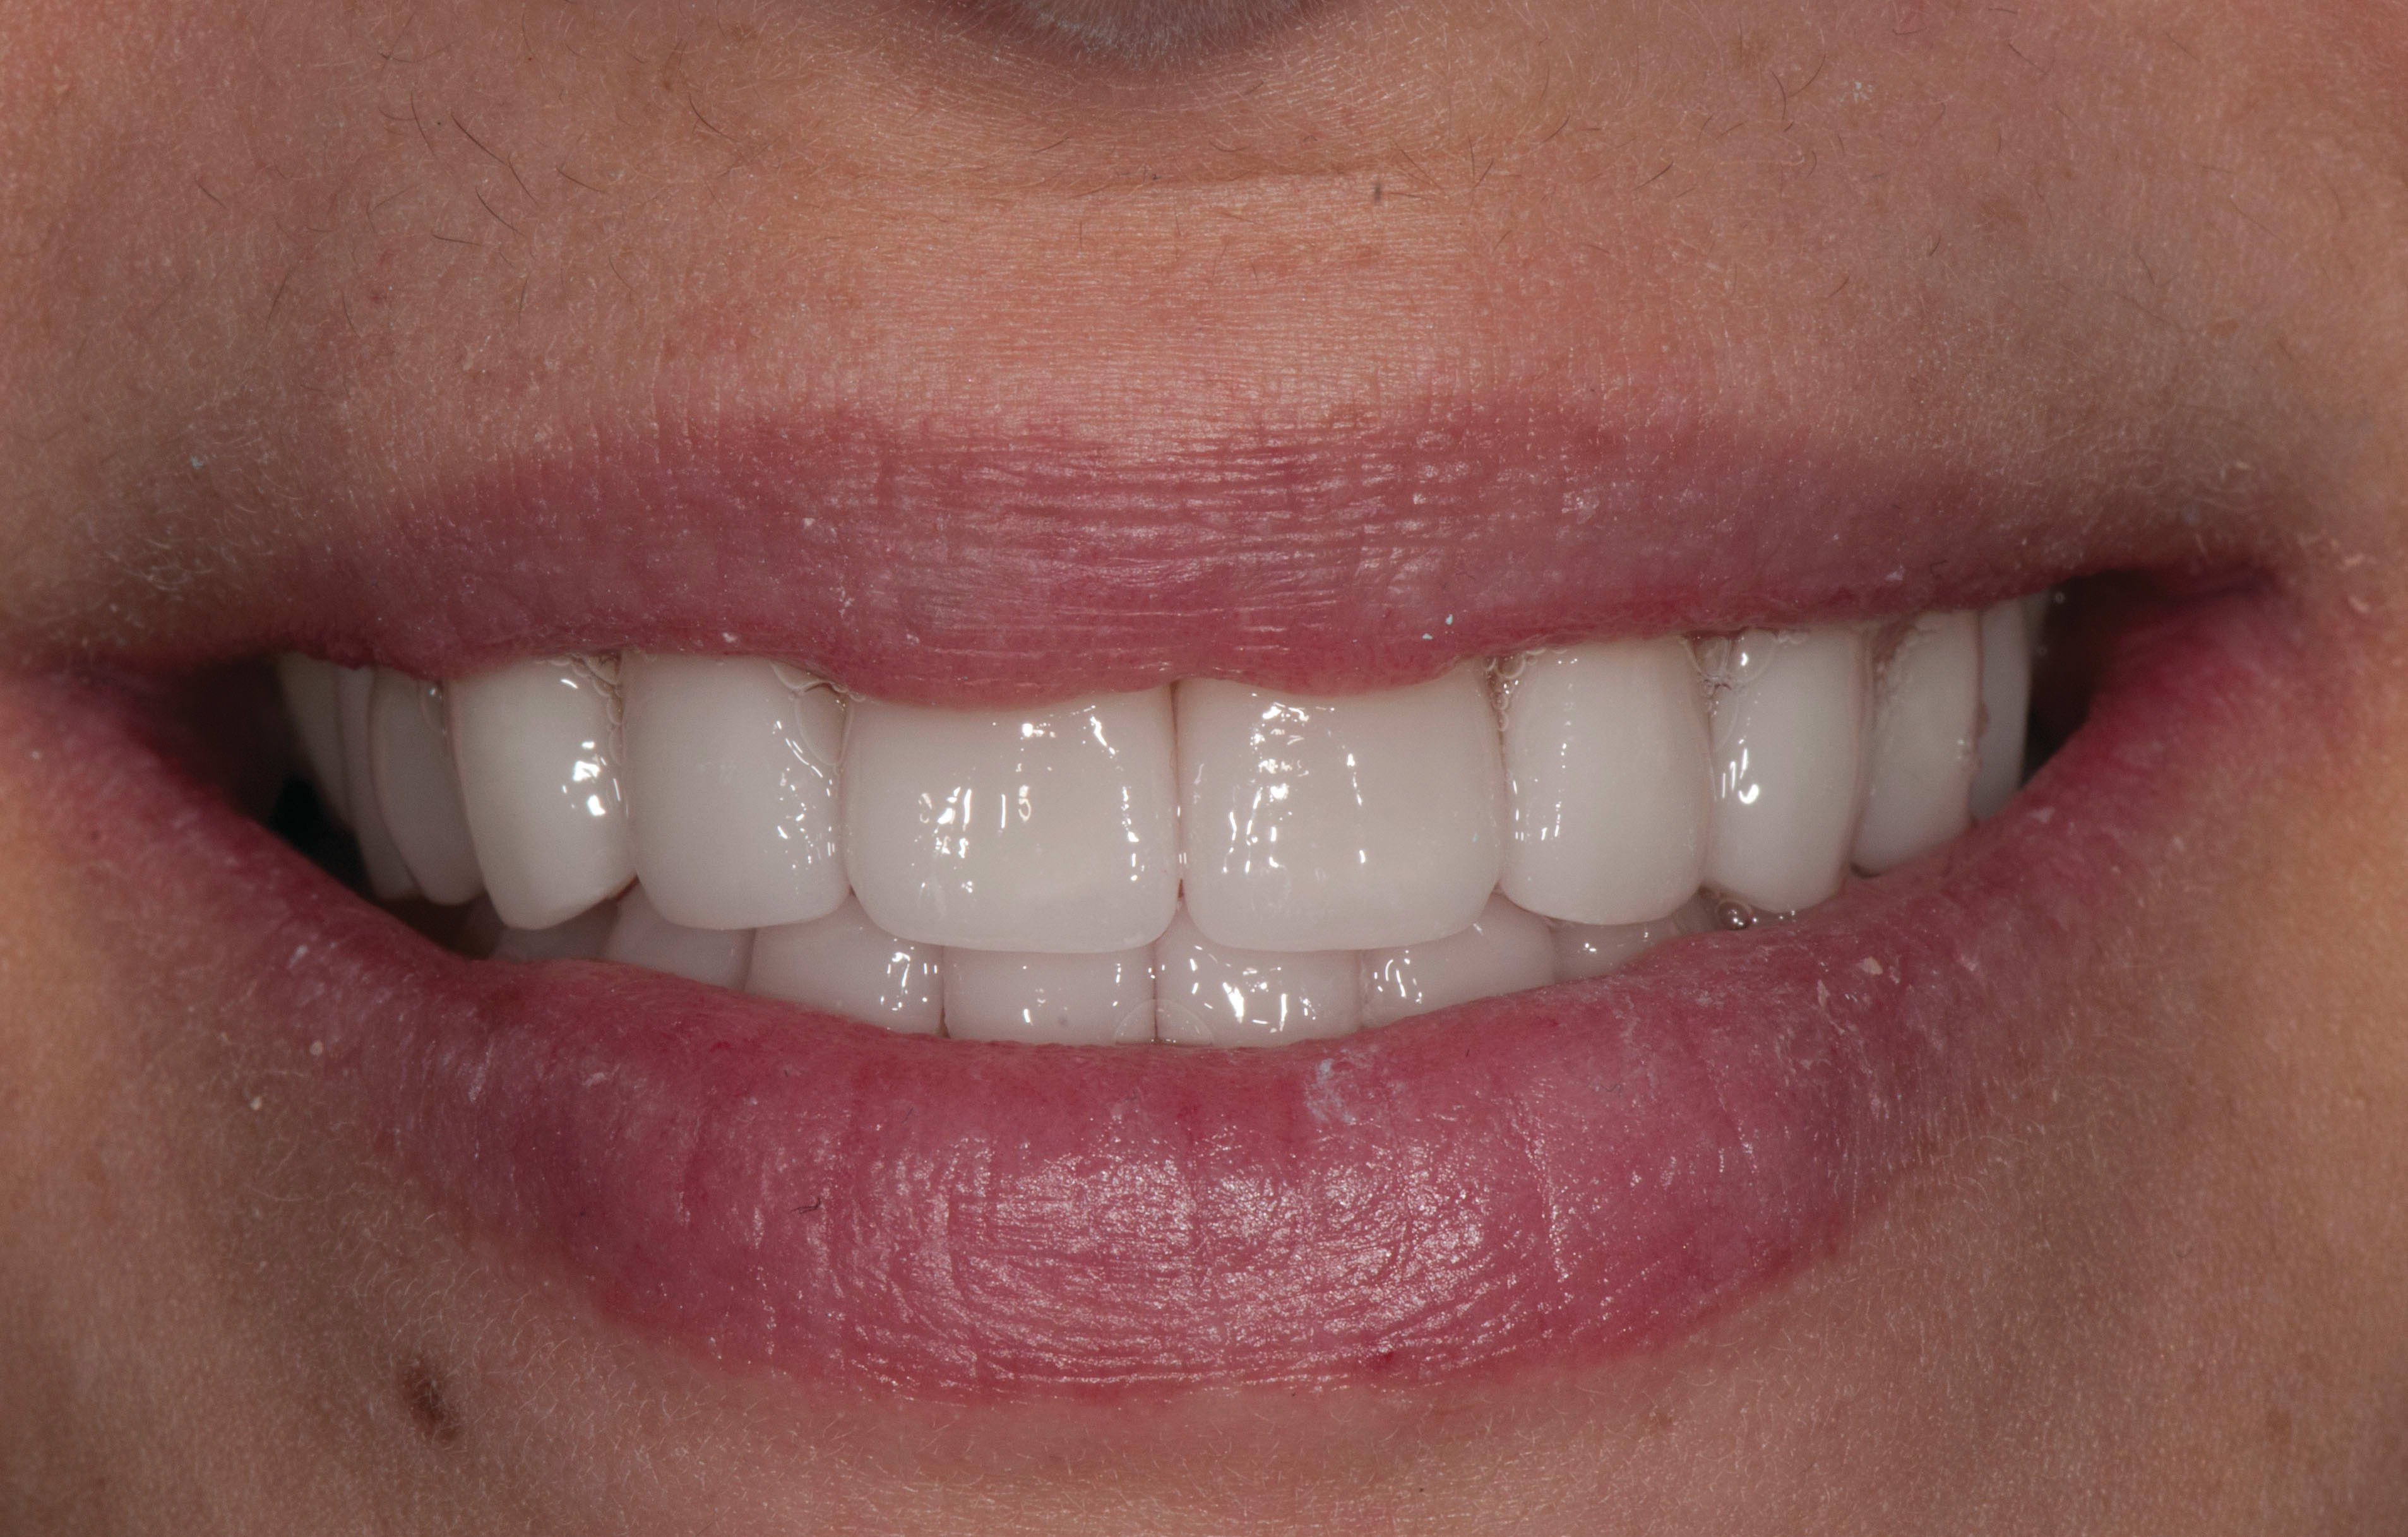
On the day of the final reveal, Dr. Couch first showed the patient the restorations on the models and then anesthetized her for prototype removal. After the temporaries were removed, the teeth were cleaned with pumice and the restorations were placed on the preps with water or a try-in paste from Ivoclar Vivadent (Figure 13 and Figure 14). At this point, the dental team sat the patient up and showed her the results of the CAD/CAM digital design. Dr. Couch prefers to let the patient see the results in both the office lights and outside for a more natural view (Figure 15 and Figure 16).
CAD/CAM technology like the Planmeca FIT System has definitely improved the abilities of both the dentist and the dental technician, namely by allowing them to communicate more effectively and efficiently with each other and the patient. The end result in this case, and many others, was a much faster turnaround and a patient who received a beautiful smile design and improved self-esteem. This confidence leads to a better performance in life and competition.
About the Author
Jimmy Fincher, CDT, owns Cosmetic Advantage, Inc. laboratory in Lewisville, Texas, and lectures regularly for Planmeca University.
