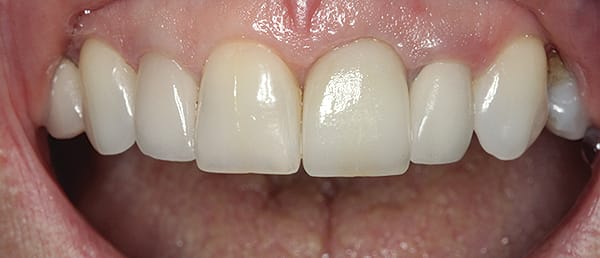
One of the most difficult tasks that a clinician faces is matching a central incisor crown to a natural tooth. Another challenging undertaking is making implant restorations appear like teeth. In this case, the author needed to accomplish both. Although the author still uses flippers, they are becoming less and less common in his practice. By removing teeth, placing an implant at the same appointment, and being able to temporize, clinicians can maintain papilla and bone levels to restore patients’ teeth. This is an important aspect, because as implant dentistry progresses, patients are better educating themselves, and their expectations are increasing.
Key Takeaway Points:
• Using CEREC® Guide (Sirona Dental, Inc., www.sirona.com), a chairside-milled guided surgery system, implant placement can be accomplished faster at comparatively lower costs.
• With the aid of CEREC and GALILEOS (Sirona Dental, Inc.), reliable diagnostic capabilities with 3-dimensional cone-beam imaging are easily achieved.
• Use of CAD/CAM technologies in the dental office makes implant dentistry safer, more predictable, and enjoyable for the clinician.
Figure Captions
1. A new patient stated that she did not like the color of tooth No. 9.
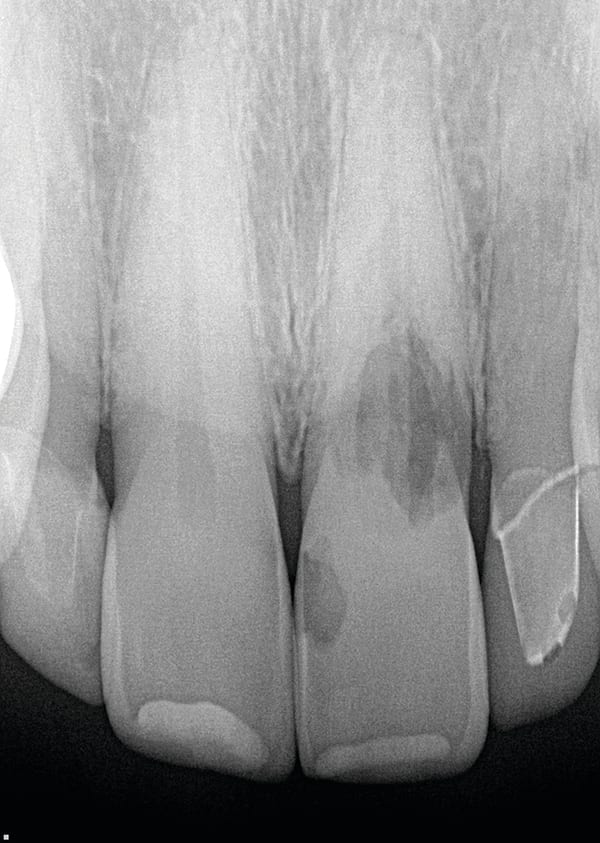
2. A periapical radiograph (PA) revealed a large resorptive lesion.
3. The tooth was extracted and an implant was planned to be placed using CEREC Guide, a chairside-milled guided surgery system.
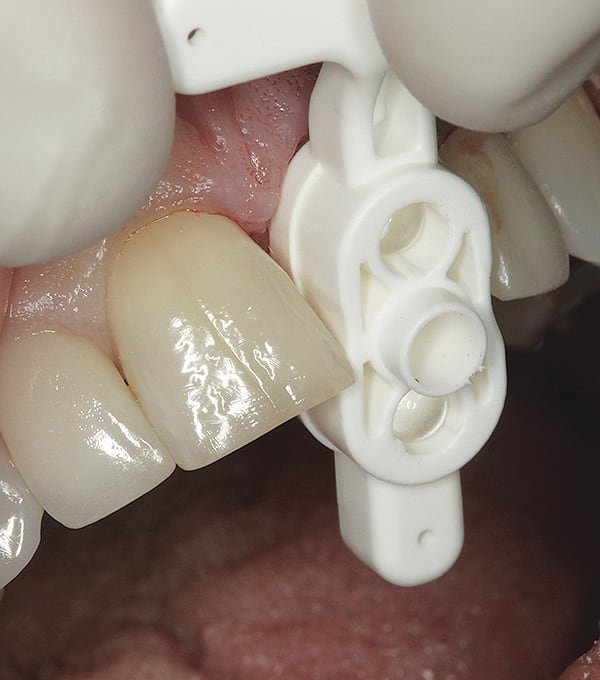
4. With CEREC Guide a part called a Reference Body was tried into the edentulous space. This part helps locate the implant in the GALILEOS software.
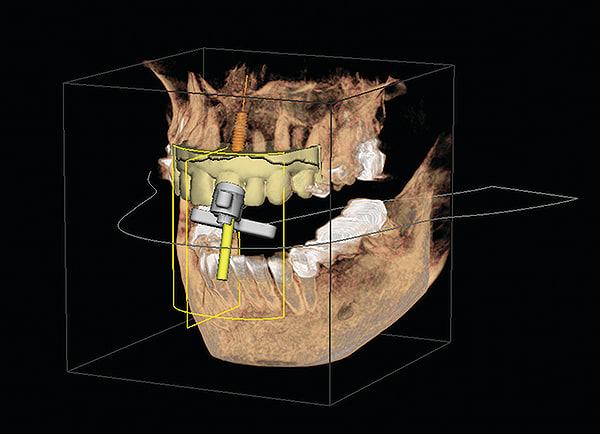
5. With the aid of CEREC and GALILEOS, the implant was planned using both Sirona 3D cone-beam computed tomography (CBCT) data and optical scan data from the CEREC Omnicam (Sirona Dental, Inc.).
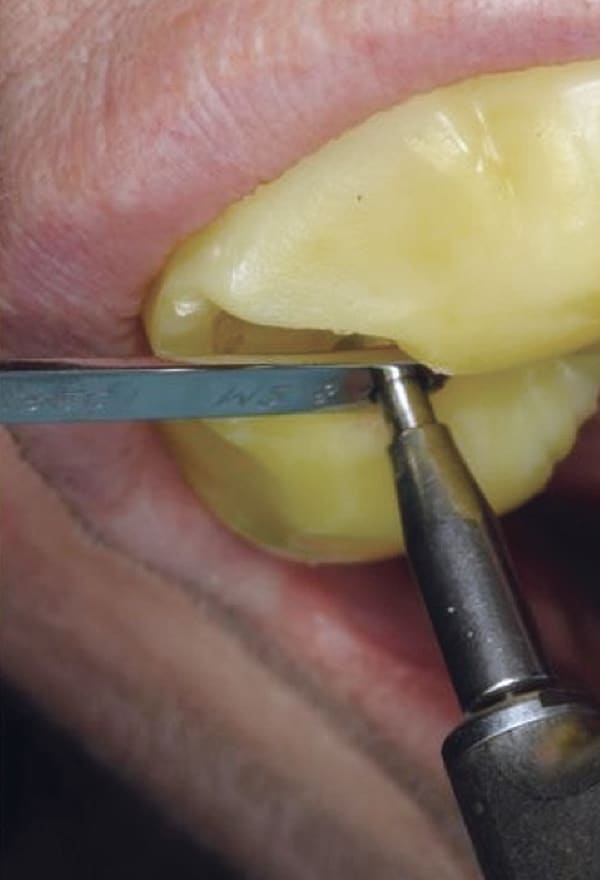
6. With CEREC Guide, yellow thermoplastic material was adapted to a model, while CEREC milled the guide sleeve portion. Keys guided drills to form the osteotomy in the position that was planned in the GALILEOS software.
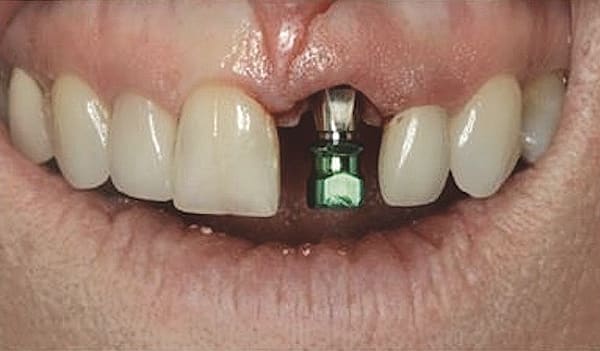
7. A Legacy™ 3 implant (Implant Direct, LLC, www.implantdirect.com) was placed. In this case, the implant came with a stock titanium abutment, which the author did not choose to use because the gray color would show through the temporary.
8. A stock zirconia abutment was prepared and imaged with the CEREC Omincam.
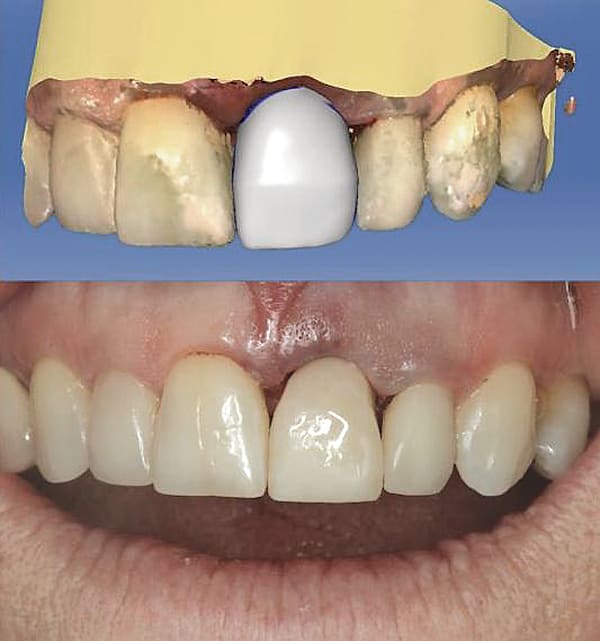
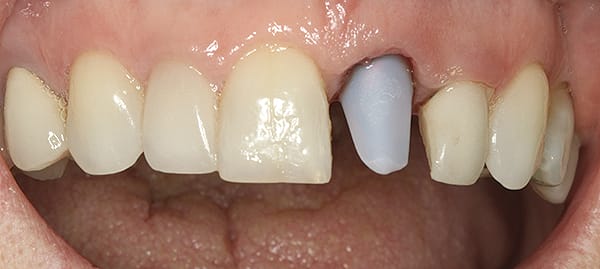
9. The temporary crown was designed using CEREC software. The gingival embrasures were intentionally left open to facilitate healing.
10. After 6 months of healing, a CEREC ScanPost (Sirona Dental, Inc.) was used to image the implant digitally.
11. A titanium base was used, and a custom e.max® abutment (Ivoclar Vivadent, www.ivoclarvivadent.com) was milled using the CEREC Omnicam, which was also used to mill out a separate e.max crown.
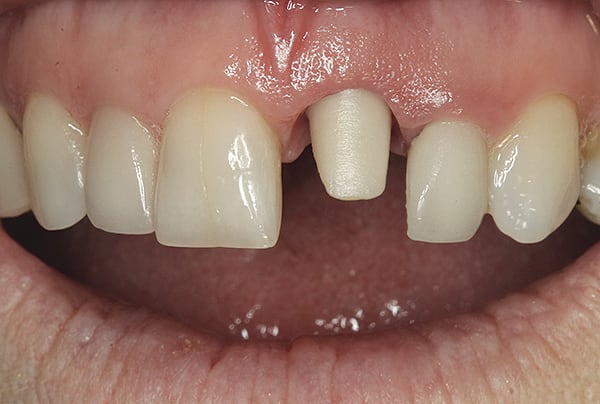
12. After sintering, the e.max abutment was tried in the mouth and torqued to 30 Ncm.
13. The final e.max crown was cemented using Multilink® composite cement (Ivoclar Vivadent). Note the translucency of the implant restoration on No. 9 compared to the patient’s natural tooth No. 8. The gingiva will continue to mature over time.
About the Author
August de Oliveira, DDS
CEREC® Basic and Advanced trainer
Private Practice, Encino, California

